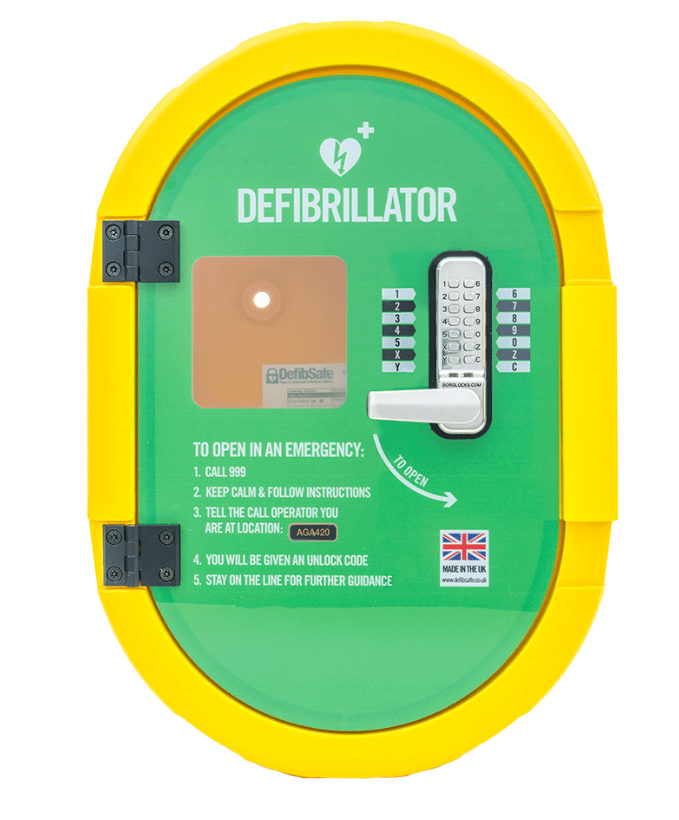
Defib Safe DS2 Cabinet Installation
Proper installation of the Defib Safe DS2 Cabinet is crucial to ensure it remains secure, accessible, and fully functional in an emergency. In this guide, we will walk through each step, from choosing the right location to securing the cabinet and connecting the power.
Checking the Components
Before beginning the Defib Safe DS2 Cabinet Installation, verify that all necessary components are present. Open the instruction manual and check the included parts. You should find bolts, washers, a plug, and a piece of tubing. The cabinet code is printed on the top of the instruction leaflet. To avoid losing it, take a photo for easy reference. Following the instructions step by step will make the process much smoother.
Choosing the Right Location
Selecting the best location is just as important as securing the cabinet properly. Mount it on a solid surface, such as a brick or concrete wall, to ensure stability. Avoid placing it on a wooden fence or any structure that might shift over time. A firm, permanent installation prevents unnecessary movement that could make it difficult to open during an emergency.
Additionally, choose a location that is highly visible and easily accessible. A well-lit area helps people locate the cabinet quickly, especially at night. Avoid placing it behind obstacles or in areas where overgrown plants could obscure it over time. Also, mount it at a practical height—too high may make it difficult to reach, and too low may expose it to damage.
Marking and Drilling
Use the provided template to mark drill points on the wall. Secure the template with sticky pads or Blu Tack, then check its alignment with a spirit level. Double-check the height and position before drilling.
Drill three holes, each 105mm deep, using a 16mm drill bit to fit the bolts. Next, drill a 20mm hole for the power cable. Angle this hole slightly upwards to prevent water from entering. If drilling into a dense surface, start with a smaller pilot hole and gradually increase the size. After drilling, confirm that all holes are correctly placed and level.
Securing the Cabinet
Before mounting the cabinet, insert the fixing bolts into the drilled holes. Push them firmly into place, ensuring they fit snugly. If they are too tight, slightly widen the hole. However, if they feel loose, ensure they grip properly when tightened.
With a second person holding the cabinet in place, align it with the drilled holes. Insert the bolts through the cabinet into the wall anchors. Tighten each bolt loosely at first, then gradually secure all three. Double-check that the cabinet remains level before fully tightening.
Connecting the Power Supply
Once the cabinet is secured, feed the power cable through the drilled hole. The unit includes a plug, but hardwiring it to the mains is the preferred method. If you choose to use the plug, label the outlet clearly with a warning: “Do Not Turn Off.” Accidental disconnection could disable the cabinet’s heater, leading to damage to the AED battery or pads.
To ensure safety, always use a qualified electrician to complete any electrical wiring. If the cabinet fails to power up, check the plug socket, fuse, and power supply before consulting an electrician.
Final Checks
With the cabinet powered, open the unit and inspect the interior. A small indicator light should be flashing green, confirming that everything is functioning correctly. If the light is red or not illuminated, review the troubleshooting guide in the manual. A red light may indicate a fault, while no light suggests a power issue.
Once the cabinet is fully operational, place the AED inside and secure the lock. Ensure that the cabinet is tightly sealed to keep moisture out and protect the defibrillator from harsh weather.
Conclusion
Completing the Defib Safe DS2 Cabinet Installation correctly ensures that the AED remains in optimal condition, ready for use in an emergency. A well-installed cabinet will keep the defibrillator safe, dry, and easily accessible when needed. By following these steps, you can confidently set up an AED station that provides lifesaving support to the community.
Leave a Reply